
Gluten-Free Strawberry Shortcake: A Beginner’s Guide From My Kitchen
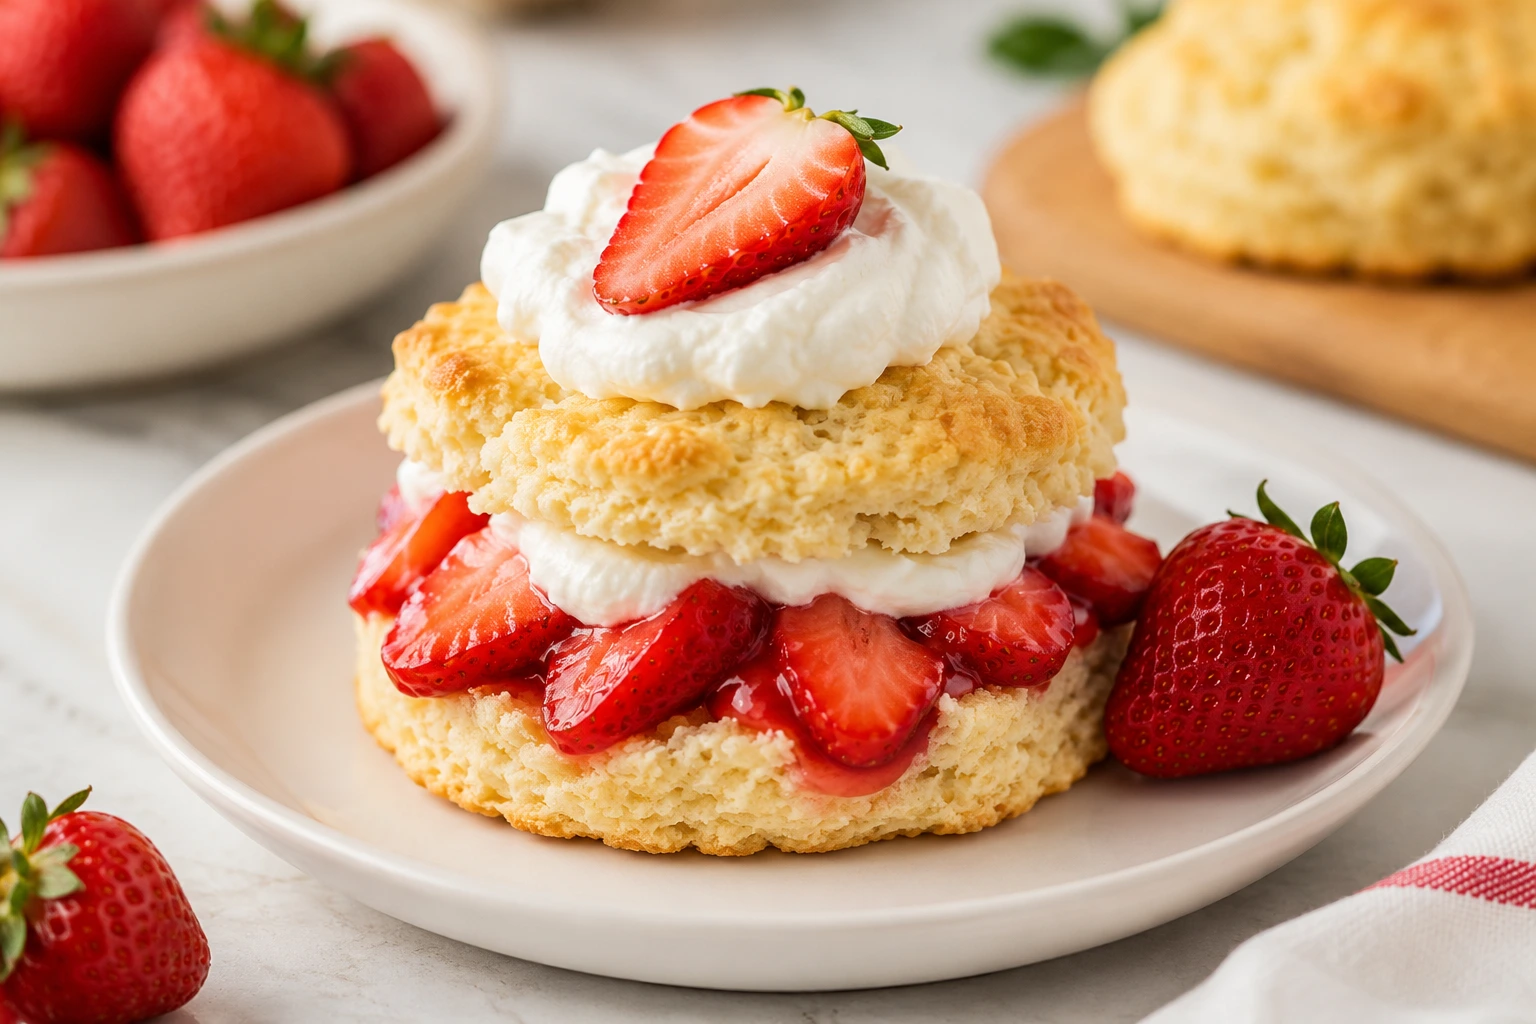
The first time a gluten-free guest asked me for strawberry shortcake, I’ll admit I panicked a little. Shortcake lives and dies on its crumb — that tender, slightly craggy biscuit that soaks up berry juice without turning to mush. Swap out the wheat flour and you’re playing with the one ingredient holding the whole structure together. I went through three sad, sandy batches before I figured out what was actually going on. That’s exactly why I created Gluten-Free Strawberry Shortcake A Beginner’s Guide From My Kitchen — to help home bakers avoid those early mistakes and make a tender, delicious shortcake on their very first try.
Here’s the good news: you don’t need three failed batches. You need to understand two or three things about how gluten-free flour behaves, and the rest is just good shortcake technique, which doesn’t change no matter what flour you’re using.
This is the guide I wish I’d had — a straightforward, step-by-step recipe plus the “why” behind the choices, so you’re not just following instructions blindly. By the end, you’ll know how to make this confidently, and you’ll understand enough about gluten-free baking to troubleshoot the next thing you bake, too.
Table of Contents
What You’ll Need: Key Takeaways Before You Start
- The biscuit is the hard part, not the cream or the berries — get the biscuit right and the rest is easy
- Use a 1:1 gluten-free flour blend that already contains xanthan gum — this single choice prevents most beginner disasters
- Cold butter is non-negotiable — it’s what creates flaky layers since there’s no gluten to do the work
- Don’t overwork the dough — gluten-free dough is actually more forgiving here than wheat dough, but it still needs a light hand
- Let the berries macerate — 20 minutes with sugar turns them from fine to genuinely spectacular
Why Gluten-Free Shortcake Is Its Own Beast
Regular shortcake relies on gluten for two contradictory jobs at once: it needs just enough structure to hold the biscuit together, but not so much that it turns tough. Bakers spend years learning to walk that line by feel.
Take gluten out of the equation, and you lose the protein network that naturally holds moisture and air together. That’s the entire reason gluten-free baked goods have a reputation for being dry or crumbly — it’s not that the baker did something wrong, it’s that gluten-free flour is structurally a different ingredient, not a substitute that behaves identically.
The fix isn’t more flour or more liquid. It’s xanthan gum — a thickener that mimics gluten’s stretchy, binding quality. Most quality gluten-free all-purpose blends already include it, which is why I always check the ingredient label before I buy. If yours doesn’t have it listed, add a half teaspoon per cup of flour yourself. Skip this step and you’ll know immediately: the dough won’t hold together, and the baked biscuit will fall apart the second you try to split it.
The Recipe: Gluten-Free Strawberry Shortcake
This makes six generous shortcakes. I’ve kept the ingredient list short on purpose — beginners don’t need fifteen components to get a great result.
Ingredients
Gluten-Free Strawberry Shortcake: A Beginner’s Guide From My Kitchen
Ingredients
Equipment
Notes
Tools I Used for Gluten-Free Strawberry Shortcake
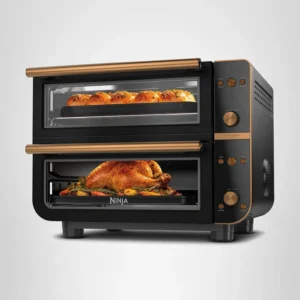
KitchenAid Artisan Stand Mixer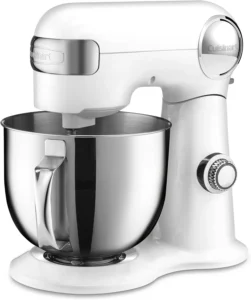 Breville Smart Oven Air Fryer Pro
 John Boos Pastry Board
 Le Creuset Mixing Bowl Set
Step-by-Step Instructions
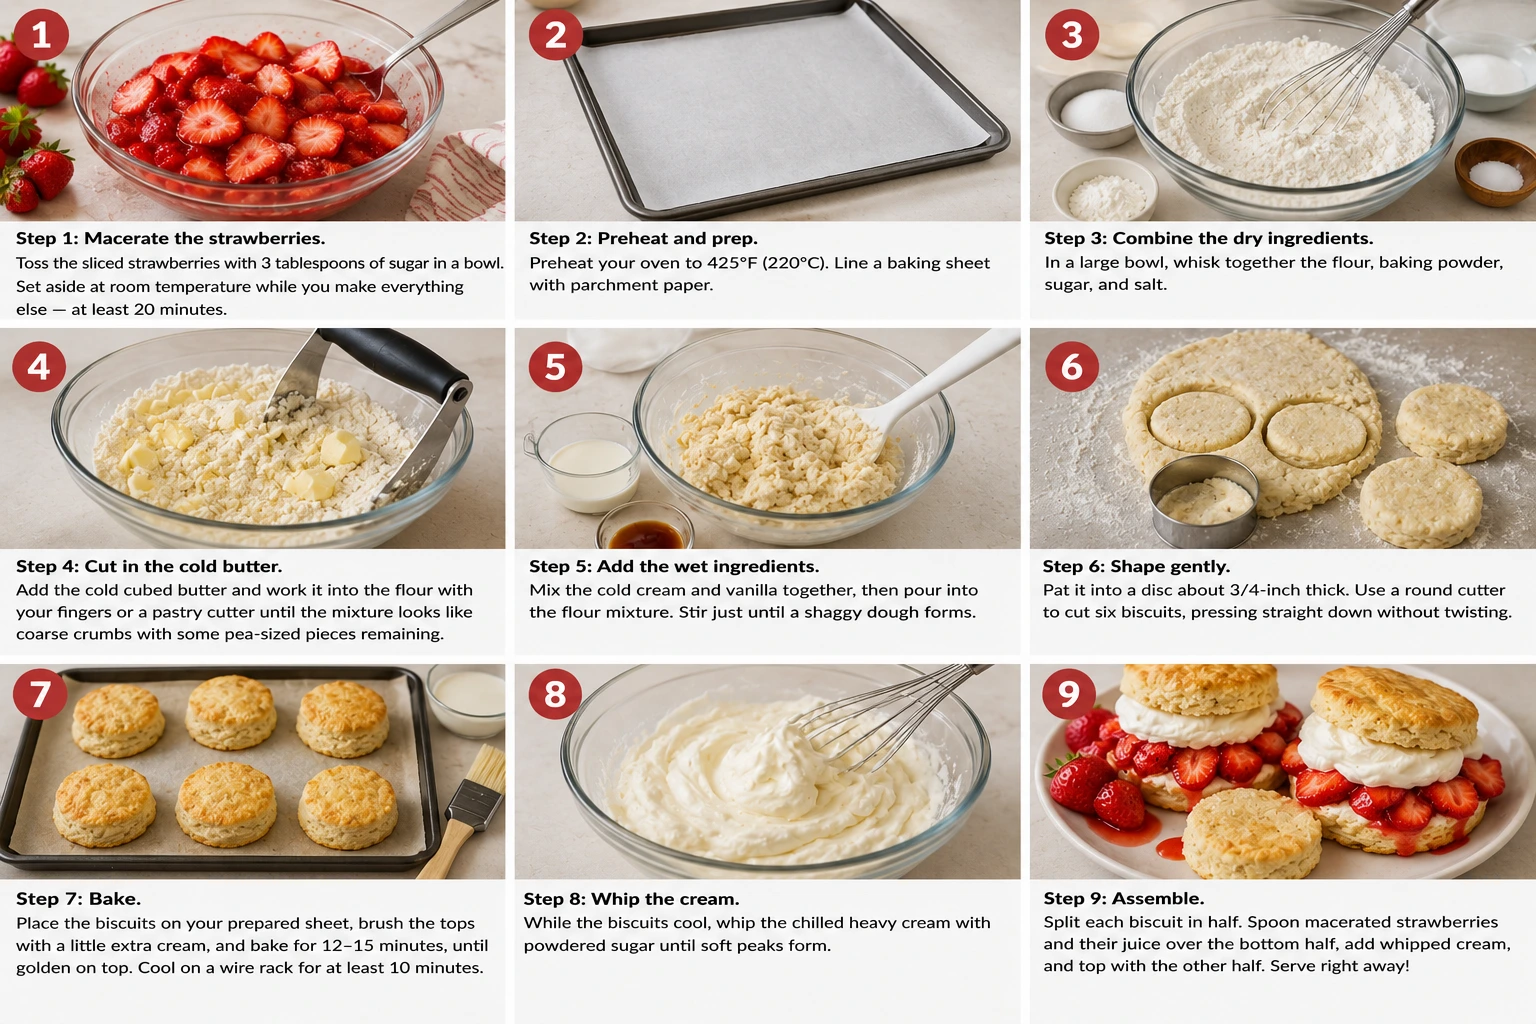
Step 1: Macerate the strawberries.
Toss the sliced strawberries with 3 tablespoons of sugar in a bowl. Set aside at room temperature while you make everything else — at least 20 minutes. The sugar pulls juice out of the berries and turns it into a light natural syrup. Don’t skip this; it’s what separates a forgettable shortcake from a memorable one.
Step 2: Preheat and prep.
Preheat your oven to 425°F (220°C). Line a baking sheet with parchment paper.
Step 3: Combine the dry ingredients.
In a large bowl, whisk together the flour, baking powder, sugar, and salt. This isn’t just busywork — it distributes the baking powder evenly so you don’t end up with one biscuit that rose perfectly and another that didn’t rise at all.
Step 4: Cut in the cold butter.
Add the cold cubed butter and work it into the flour with your fingers or a pastry cutter until the mixture looks like coarse crumbs with some pea-sized pieces remaining. Those little butter pieces are what create flaky layers as they melt in the oven — don’t smooth them out completely.
Step 5: Add the wet ingredients.
Mix the cold cream and vanilla together, then pour into the flour mixture. Stir just until a shaggy dough forms. It will look rougher and slightly stickier than a wheat-flour dough — that’s normal, not a mistake.
Step 6: Shape gently.
Turn the dough onto a lightly floured surface (use the same GF flour blend). Pat it into a disc about 3/4-inch thick. Use a round cutter to cut six biscuits, pressing straight down without twisting — twisting seals the edges and can stop the biscuits from rising evenly.
Step 7: Bake.
Place the biscuits on your prepared sheet, brush the tops with a little extra cream, and bake for 12–15 minutes, until golden on top. Cool on a wire rack for at least 10 minutes before splitting — cutting them too early lets them collapse.
Step 8: Whip the cream.
While the biscuits cool, whip the chilled heavy cream with powdered sugar until soft peaks form.
Step 9: Assemble.
Split each biscuit in half. Spoon macerated strawberries and their juice over the bottom half, add a generous dollop of whipped cream, and top with the other half of the biscuit. Serve right away, while the biscuit is still slightly warm.
The Trick Most Beginners Miss
If there’s one thing I’d want you to remember above everything else, it’s this: temperature control matters more in gluten-free baking than in regular baking, not less. Keep your butter cold, keep your cream cold, and work quickly. Without gluten’s elasticity to fall back on, a gluten-free dough that gets warm and greasy from overhandling won’t bounce back — it just stays dense.
If you only have ten more seconds of patience left in you after reading this whole guide, spend them chilling your mixing bowl in the freezer for five minutes before you start. It sounds excessive. It isn’t.
Worth the Effort
Gluten-free baking has a reputation for being finicky, and I won’t pretend there’s zero learning curve. But strawberry shortcake is genuinely one of the most forgiving places to start — the components are simple, the technique is mostly about temperature and restraint, and even a slightly imperfect biscuit tastes incredible once it’s stacked with macerated strawberries and fresh cream.
Make this once, and you’ll understand gluten-free baking logic well enough to apply it elsewhere — biscuits, scones, pie crusts, all of it follow the same core rules.
Try the recipe this weekend, and let me know how your biscuits turn out — I’d genuinely love to hear whether the chilled-bowl trick made a difference for you.
Frequently Asked Questions
Can strawberry shortcake be made gluten-free?
Yes, completely. A good 1:1 gluten-free flour blend with xanthan gum, combined with standard shortcake technique — cold butter, minimal mixing — produces a biscuit that’s very close to the classic wheat version in texture and flavor. The strawberries and cream don’t need any adjustment at all.
Does shortbread work with gluten-free flour?
It does, though it behaves a little differently than wheat-based shortbread. Because shortbread relies on a high butter-to-flour ratio and very little structure to begin with, it’s actually one of the more forgiving gluten-free conversions. The main adjustment is making sure your flour blend includes a binder like xanthan gum, since shortbread has nothing else holding it together once the butter melts during baking.
What happens if I use gluten-free flour instead of plain flour without adjusting anything else?
A straight swap, with no other changes, usually produces a crumblier, denser result. Plain gluten-free flour (without xanthan gum) lacks the protein structure that holds baked goods together, so the final product can fall apart or feel gritty. This is the single most common reason a first attempt at gluten-free baking goes wrong — not the recipe, but the missing binder.
Why is my gluten-free shortbread crumbly?
Two usual suspects: either the flour blend you used doesn’t contain xanthan gum (or another binder), or the dough was overbaked and dried out. Gluten-free baked goods have a narrower margin of error on bake time than wheat-based ones, since there’s less elasticity to mask slight overbaking. Pulling shortbread out the moment the edges turn golden, rather than waiting for the center to look fully set, usually solves it.